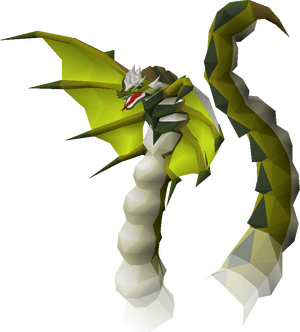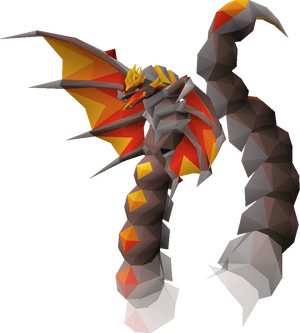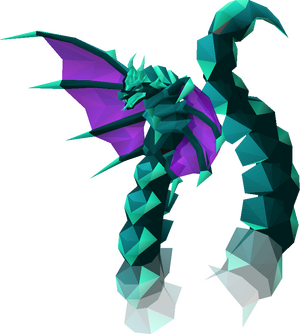
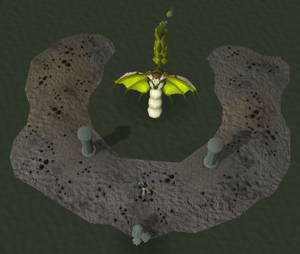
Zulrah is a level 725 solo-only snake boss found at a shrine east of Zul-Andra. It can be accessed through Arigon's Teleportation Menu, where the boss is listed as the second option under the Boss Teleportation panel.
Zulrah often killed for some highly sought after drops, such as the magic fang and the tanzanite fang. The boss also has a chance of dropping its miniature pet variant, the Pet Snakling.
Forms[edit | edit source]
Throughout the fight, Zulrah will continually dive into the swamp, sending out a plethora of attacks before doing so. It will then re-emerge in its next phase and continue its attacks, usually as a different form.
Special Abilities[edit | edit source]
During the fight Zulrah can summon snakelings and/or venom clouds in any form, however the phase at which it does so, as well as when during the phase, is predetermined by the rotation (see below).
Snakelings[edit | edit source]

Snakelings are monsters that Zulrah will summon during the fight via shooting white orbs. Each snakeling attacks with either magic or melee, but never both. Despite their moderately high combat level of 90, they have extremely low defence and only 1 Hitpoint. The snakeling's low survivability is made up for by their incredibly accurate attacks, which can quickly add up damage during the fight.
Protection prayers block their attacks; however, it is better to tank the snakelings' attacks if Zulrah is also attacking. It is highly recommended to bring a ring of recoil to kill the snakelings. Rings of recoil can be purchased from "Pure" tab in the General Store, located at Home (::shops).
If you are hiding from Zulrah, it is best to use this time to kill the snakelings as to lessen the need to eat and/or use recoil charges during the fight.
Venom clouds[edit | edit source]
Zulrah will spawn venomous clouds during the fight via a barrage of dark-green orbs. If a player stands within a cloud's 3x3 area, they will be dealt varying damage per tick which can add up quickly. Players will want to position themselves accordingly for each phase as to minimise the potential damage from these clouds.
While these clouds inflict venom damage, they do not envenom the player.
It is highly recommended to bring super antipoison potions to protect yourself from the venom effect. Super antipoison potions can be purchased from "Consumables" tab in the General Store, located at Home (::shops).
Rotations[edit | edit source]
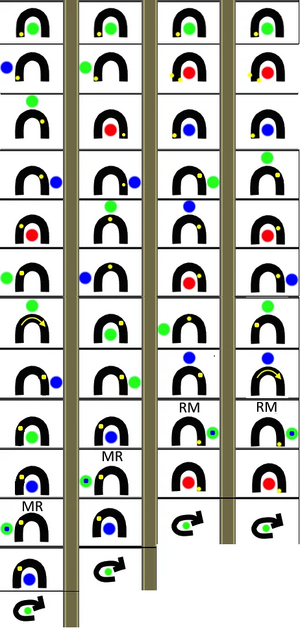
At the start of the fight, Zulrah will pick one of four possible rotations, with each rotation consisting of predefined phases. It takes Zulrah about three minutes to complete each rotation. After it finishes a rotation, Zulrah will then begin a new one.
At the start of each rotation, Zulrah will always be in its serpentine form in the middle of the shrine. It will never attack directly at the start; rather, Zulrah will fill the area with venom clouds, leaving the tips on the east and west sides clear. After filling up the area with venom clouds, Zulrah will dive into the swamp and continue on to one of the four predetermined rotations.
To know exactly where Zulrah will spawn, where you should ideally stand, and what you pray, please refer to the visual guide below. Each column represents a phase (column 1 corresponding to phase 1, and so on ...) and should be read from top to bottom.
Gear Setups[edit | edit source]
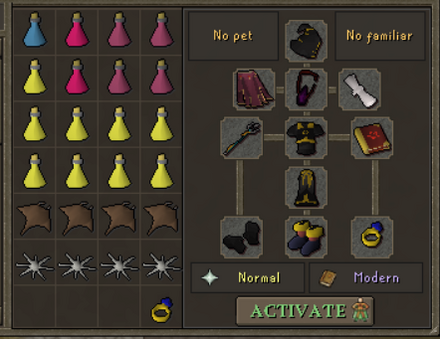
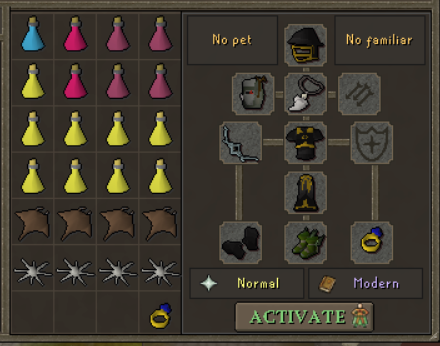
In this section, you will find intermediate-level gear setups that should make it possible for you to defeat Zulrah without running out of supplies.
Please note however that (with some practice) Zulrah can be defeated using even less advanced gear setups.
Drops[edit | edit source]
Notable Drops[edit | edit source]
| Item Image | Item Name | Drop Chance |
|---|---|---|
| Uncut Onyx | 1/155 | |
| Jar of Swamp | 1/387 | |
| Tanzanite Mutagen | 1/387 | |
| Magma Mutagen | 1/387 | |
| Serpentine Visage | 1/387 | |
| Magic Fang | 1/387 | |
| Tanzanite Fang | 1/387 | |
| Pet Snakeling | 1/774 |
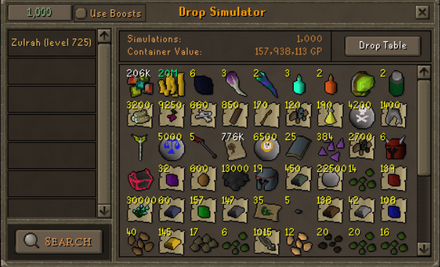
Drop simulation[edit | edit source]
