

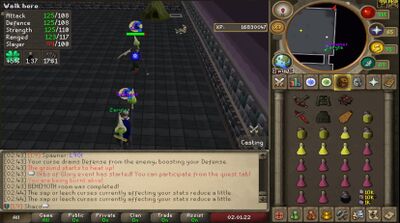

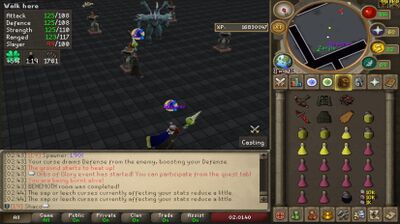
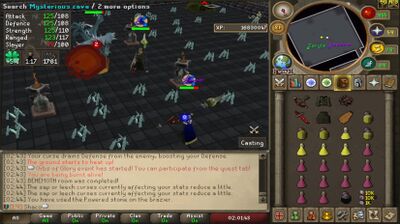
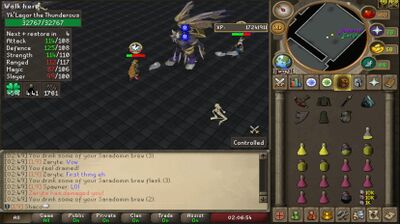





Raids 1[edit | edit source]
This guide will be long but as basic as I can make it. If you read the paragraphs and refer to the pictures you should be able to jump right into raids and start making money with friends. In the correct gear it is definitely solo-able once you have everything down and understand the mechanics.
- Your gear matters but isn't a huge detriment. Barrows armor I would say is minimum, A DCB or better, A Whip and a decent spec weapon. You can always copy my gear in the pictures. If you want a solid gear setup, bring a spec weapon.
- There are ALOT of mechanics, most are simple, but they will catch you off guard if you don't learn before you go in.
- Once you perish, the raid concludes for you. If you're going solo, you'll need to start over, whereas if you're in a team, you'll remain locked at the raid's outset until your team finishes the raid.
- Scaling: The raid will scale based on the number of players participating. Per person, it scales at 45%, except for the spider room (room 4), which scales at 100%. Normally, it takes 4 stones to complete it, but if you're raiding as a duo, it will require a total of 8 stones.
Room 1[edit | edit source]
Combat Style : Melee (![]() Soul Split
Soul Split
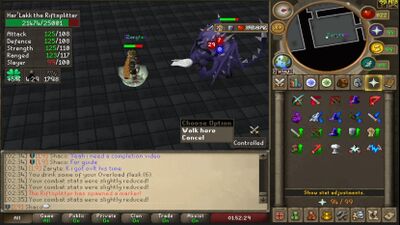
Room 1 is Har'Lakk the Riftsplitter. A 12,000 Health Demon with high defensive stats in Ranged and Magic. You have to Melee him if you want to kill him. Bringing a BGS will definitely speed up kills if your special attacks hit. This room should take NO SUPPLIES from you once you have it down. Set your quick prayers to Turmoil and SoulSplit. When you're about to hit, Flick them on to regain health and turn them back on. If you don't know what prayer flicking is, look up a guide. Any guide will do, it doesn't have to be for Arigon. The only mechanic this boss has is Markers will appear on the floor. When they appear, Each player has to be on a marker, you can stand on the same marker as your team mates. Failing to have everyone on the team on a marker will result in taking a minimum of 750 damage(hard) 500(easy). Proceed to Melee the boss until dead and proceed to Room 2.
Refer to the pictures on the right for more information and a visual guide.)
Room 2[edit | edit source]
Combat Style: NA (No Prayers Needed)
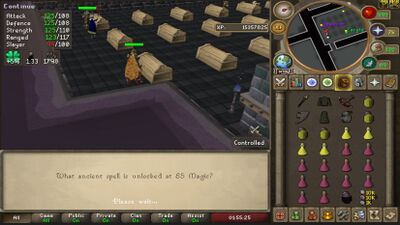
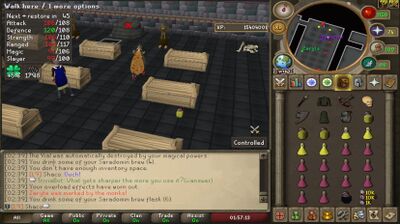
Room 2 is the only "pure" puzzle room. When you enter the room you will see 3 rows of caskets and 4 archers. At the end of the room there are 2 chanting monks and an altar in-between them. The objective is to gather "Mysterious Skulls" and to use them on the altar. Each skull you use will damage the monks and the room ends when they die. The 4 archers each drop 1 skull each. Each casket has a question, Like the server trivia questions. Answering the question correctly will provide you with a skull, supplies or nothing. You're going to have to search and answer all the caskets you can to find the skulls and defeat the room. The mechanic for this room is annoying at first, but once you understand it, it's very simple. This room should also take no supplies from you after your 2nd or 3rd run. The mechanic is, the monks designate someone on your team and you are notified in the chat box in big red text "Player Name was marked by the monks!" When you see this, the players name designated will begin having rocks fall on them taking rapid damage of 20+ per game tick. To avoid this, Simply turn off your run and walk away. Don't stop moving until the falling rock animation is gone from your character. Proceed to search caskets and defeat the monks.
- Instantly use skulls so they dont despawn. If they are left and despawn, you won't be able to proceed.
- Before next room, change quick prayers to Soulsplit, leech range & defence
Room 3[edit | edit source]
Combat Style: Range (![]() SoulSplit)
SoulSplit)
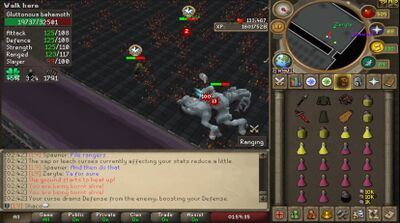
Room 3 at first can be quite annoying, This is where you will start using some of your supplies. This room contains the Gluttonous Behemoth. A 32,500 HP Tank boss. The room mechanic is he will periodically set the floor on fire and if you stand in the flames you will take rapid damage. You can see in the chat box where it says "The ground starts to heat up!" and if you are standing in the fire it says "You are being burnt alive!" Simply move out of the fire and you're character is safe. You want to be prayer flicking with your ranged gear the same way we did with the first boss to soulsplit some of your HP back to save your supplies. RUBY BOLTS (E) ARE A MUST FOR THEIR 100 DAMAGE BOLT SPECIAL. The boss has no other mechanics besides that, So just move out of the fire, Flick your quick prayers and kill him.
Room 4[edit | edit source]
Combat Style: Magic - ![]() Blood Barrage (Protect From Magic) Optional: Flick Soulsplit for more healing
Blood Barrage (Protect From Magic) Optional: Flick Soulsplit for more healing
Room 4 is another puzzle room but with some more combat. This is the Ice Demon room. Upon entering the room, you will see the Ice Demon in the center surrounded by 4 Braziers/Torches. Proceed to the south-west corner to the pile of rocks and pick one up, You can only have one in your inventory at a time. Then run to the north-east corner of the room and use the rock on the puddle/pond to get a "Powered Stone" Proceed to use the stone on one of the torches to do damage to the Ice Demon. Ice Spiders will periodically spawn throughout the encounter, Simply blood barrage them as you're running stones back and forth to keep yourself full HP. This boss will not do damage to you as long as you are protecting from Magic but the Ice Spiders will hit you rapid 10s if you're standing next to them. The only mechanic this room has is the floor occasionally sprouts icicles, But they do almost no damage and are pretty easily ignored with no repurcussions. Also if you or a teammate recently used a brazier, it will go on cooldown, so use a different brazier if you used a stone on one recently until it can be used again.
TIP:You can veng this room, however if you miss the basic magic attack the Demon will heal. To use the Vengeance, you'll have to wait and try to time it correctly, the Ice Demon will use a special attack which will send 3-5 bubbles that deals magic damage, take your protection from Magic of & try to double veng it.(pre veng & wait for veng timer cooldown).If you want to speed up the raid, you can use the double veng strategy and also bring recoils with you for maximum DPS.
Room 5[edit | edit source]
Combat Style: Melee (![]() Soul Split)
Soul Split)
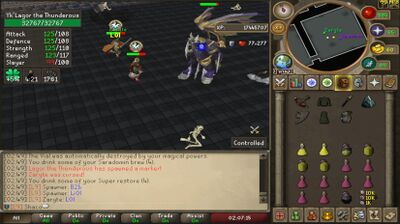
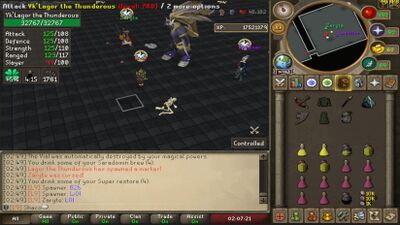
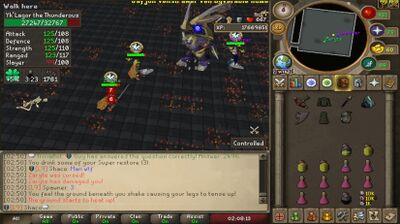
Yk'Lagor the Thunderous has 25,000HP . This is the final room and frankly the only room in the entire raid that you should be using the majority of your supplies on. This room incorporates all the previous rooms mechanics into the boss fight along with mechanics of its own so there's alot to look out for.
- NOTE: DON'T GET OVERWHELMED BY HOW MANY MECHANICS THERE ARE, AFTER YOUR FIRST RUN YOU WILL HAVE THE HANG OF IT AND YOU ALREADY KNOW MOST OF THEM FROM THE PREVIOUS ROOMS. ALSO REFER TO THE PICTURES ON THE RIGHT SO YOU KNOW WHAT THE MOVES LOOK LIKE.
- Mechanic 1 - The Curse - Yk'Lagor will Curse someone on your team. It will announce it in the chat in red text "PlayerName was cursed!" and they will also have a skull spinning around their head. If the cursed player attacks the boss while cursed, he will instead damage his allies. Cursed players should just stand around until the curse wears off and then proceed to do damage,
- Mechanic 2 - The Waterfall - Yk'Lagor summons waterfalls from the ceiling. If you stand in them when their damage ticks, you will get hit with a large amount of damage. Occasionally it's 20-25, sometimes it's a lot more. It's better off to just try and avoid it altogether and not risk how much damage you take.
- Mechanic 3 - Lighting Wave - Yk'Lagor summons a wall of lighting that only has a small gap in it. Players need to run to the gap in the wall or they will be caught in the wave and pushed all the way to the wall taking rapid 12's-15's worth of damage. You can easily die to this if you get caught in it for a long period of time. Try to move in the direction the wave is coming from to give yourself more time to navigate to where the gap is.
- Mechanic 4 - Bombs - Yk'Lagor summons these red dots on the ground, they explode in the order they fell from after a period of 10-15 seconds. Don't stand near them or you will take heavy damage and you can get hit multiple times.
- Mechanic 5 - Rock Fall - It's the same attack in the casket room. You will be notified in the chat "PlayerName was marked by Lagor the Thunderous!" Simply turn off your run and walk in a direction to avoid getting hit. This is the move that kills most players as it catches you off guard while you're dodging the other mechanics and does massive damage rapidly. Being hit by this attack does 15-25 damage each game tick so this is the one you really want to watch out for.
- Mechanic 6 - Markers - The same as room 1, everyone has to stand on a marker or you will take 75 damage. This is sometimes difficult as other attacks may stack on top of where the markers are which causes you to not be able to avoid damage.
- Mechanic 7 - Ice Floor - Same mechanic in the Ice Demon room. Doesn't do much, not to be worried about.
- Mechanic 8 - Lava Floor - Same mechanic as the behemoth room. Dodge the floor where there are gaps in the lava or you will take rapid damage.
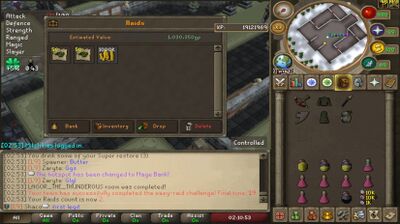
Those are all the mechanics of the final floor. Make sure your teammate with the BGS uses his special on the boss to lower his defenses. The faster you kill it the quicker you don't have to worry about being caught in one of these and dying.
Rewards[edit | edit source]
| Item Name | Amount | Chance (%) |
|---|---|---|
| Coins | 250,000 | 13.5 |
| Uncut jade | 75 | 13.5 |
| Uncut dragonstone | 75 | 13.5 |
| Uncut sapphire | 75 | 13.5 |
| Uncut emerald | 75 | 13.5 |
| Uncut ruby | 75 | 13.5 |
| Uncut diamond | 75 | 13.5 |
| Uncut opal | 75 | 13.5 |
| Uncut red topaz | 75 | 13.5 |
| Grimy cadantine | 50 | 13.5 |
| Grimy marrentill | 50 | 13.5 |
| Grimy kwuarm | 50 | 13.5 |
| Grimy irit | 50 | 13.5 |
| Grimy lantadyme | 50 | 13.5 |
| Grimy toadflax | 50 | 13.5 |
| Grimy dwarf weed | 50 | 13.5 |
| Grimy torstol | 50 | 13.5 |
| Grimy avantoe | 50 | 13.5 |
| Grimy harralander | 50 | 13.5 |
| Grimy snapdragon | 50 | 13.5 |
| Grimy ranarr | 50 | 13.5 |
| Grimy tarromin | 50 | 13.5 |
| Grimy guam | 50 | 13.5 |
| Onyx dragon bolts (e) | 25 | 13.5% |
| Dragonstone dragon bolts (e) | 25 | 13.5% |
| Ruby dragon bolts (e) | 25 | 13.5% |
| Diamond dragon bolts (e) | 25 | 13.5% |
| Emerald dragon bolts (e) | 25 | 13.5% |
| Sapphire dragon bolts (e) | 25 | 13.5% |
| Overload flask (6) | 10 | 13.5% |
| Super attack flask (6) | 10 | 13.5% |
| Super strength flask (6) | 10 | 13.5% |
| Super defence flask (6) | 10 | 13.5% |
| Ranging flask (6) | 10 | 13.5% |
| Magic flask (6) | 10 | 13.5% |
| Saradomin brew flask (6) | 10 | 13.5% |
| Sanfew serum flask (6) | 10 | 13.5% |
| Super restore flask (6) | 10 | 13.5% |
| Stamina renewal flask (6) | 10 | 13.5% |
| Herb pouch | 15 | 13.5% |
| Crate of ores | 15 | 13.5% |
| Crate of logs | 15 | 13.5% |
| Bag of gems | 15 | 13.5% |
| Coins | 1,000,000 | 5% |
| Dragon med helm | 3 | 5% |
| Dragon sq shield | 3 | 5% |
| Dragon chainbody | 3 | 5% |
| Dragon platelegs | 3 | 5% |
| Dragon plateskirt | 3 | 5% |
| Dragon halberd | 3 | 5% |
| Dragon spear (p++) | 3 | 5% |
| Escape teleport | 1 | 5% |
| Arcane pulse necklace | 1 | 3% |
| Arcane blast necklace | 1 | 3% |
| Tome of fire | 1 | 3% |
| Arcane stream necklace | 1 | 3% |
| Dragon hunter crossbow | 1 | 3% |
| Dragon hunter lance | 1 | 3% |
| Chaotic rapier | 1 | 2% |
| Chaotic longsword | 1 | 2% |
| Chaotic maul | 1 | 2% |
| Chaotic staff | 1 | 2% |
| Chaotic crossbow | 1 | 2% |
| Chaotic kiteshield | 1 | 2% |
| Farseer kiteshield | 1 | 2% |
| Eagle-eye kiteshield | 1 | 2% |
| Elder maul | 1 | 2% |
| Sanguinesti staff | 1 | 1% |
| Twisted bow | 1 | 1% |